Egyptian Project Week One

Egyptian Project Week One

Introduction.

In school we’ve been set of project on Egypt. I’ve decided to do a mummy in a sarcophagus. First we had to plan it all out. We had a month to do this so I got a plain piece of paper and wrote Egyptian project plan at the top.

Making My Plan.

First I split my page into four then in each section I wrote week one, week two, week three and week four.
In week one I wrote, find instructions, print instructions, find materials, make base model.
In week two I wrote papier-mâché model, paint model, make Mummy.
In week three I wrote research booklet, make notes, decorate booklet.
In week four I wrote finish off unfinished work.

Building the Base Model.

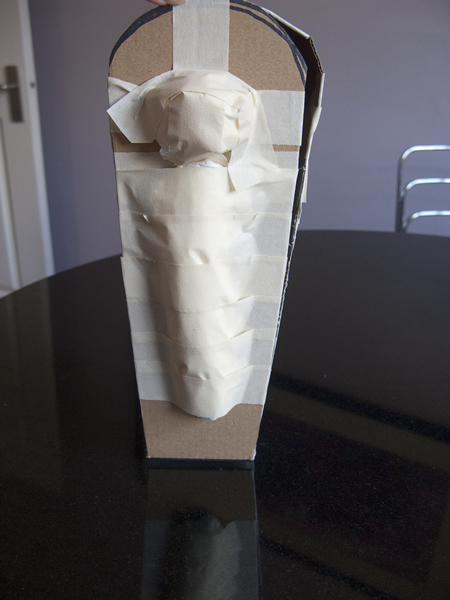
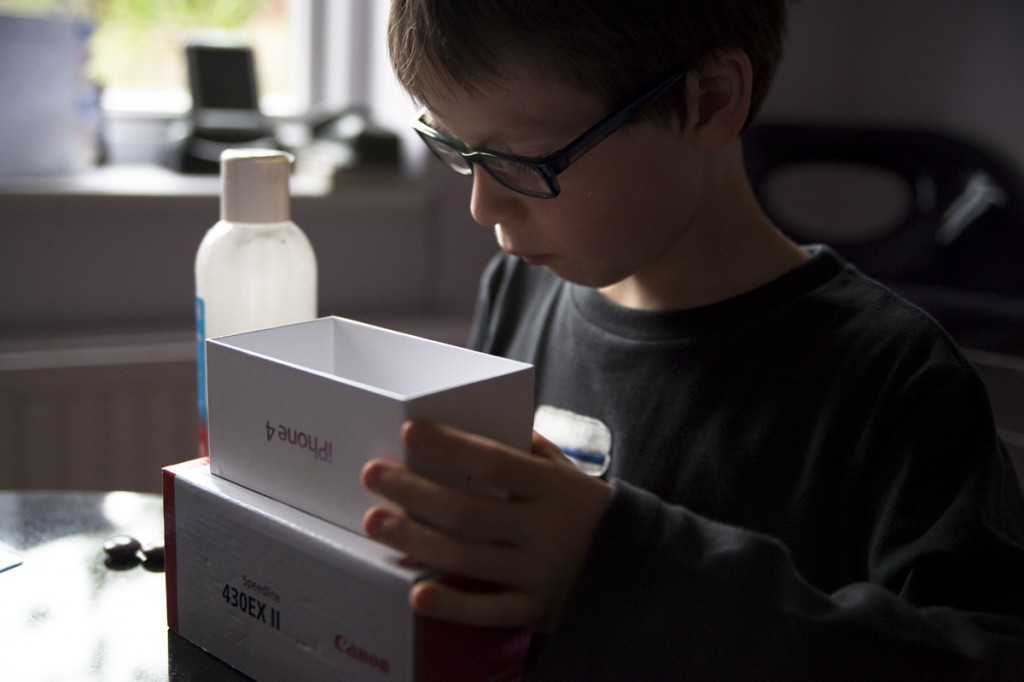
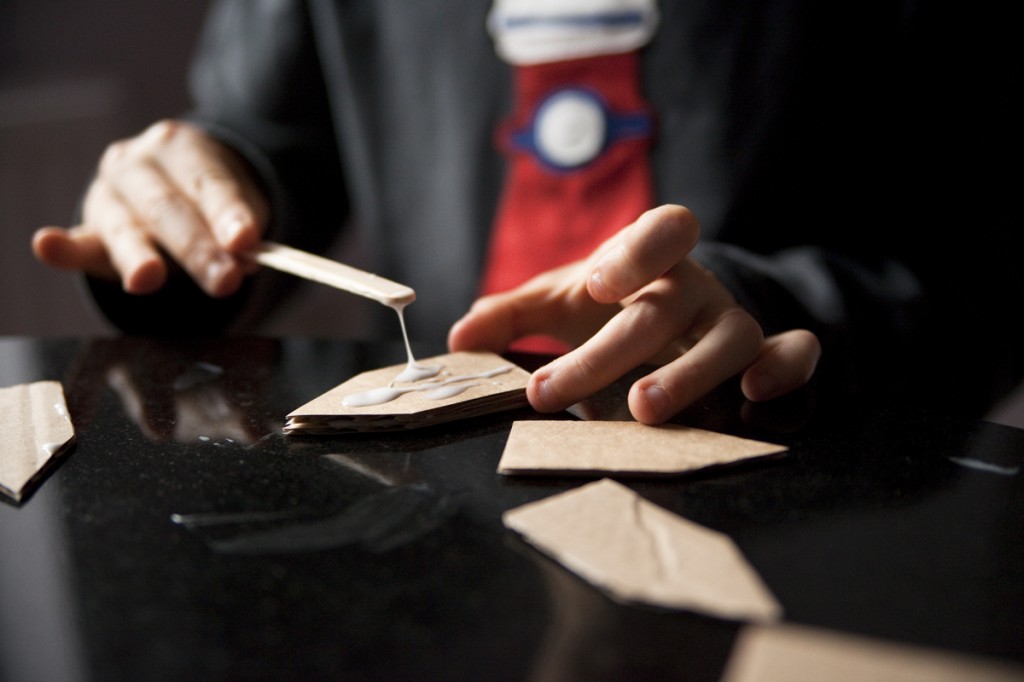
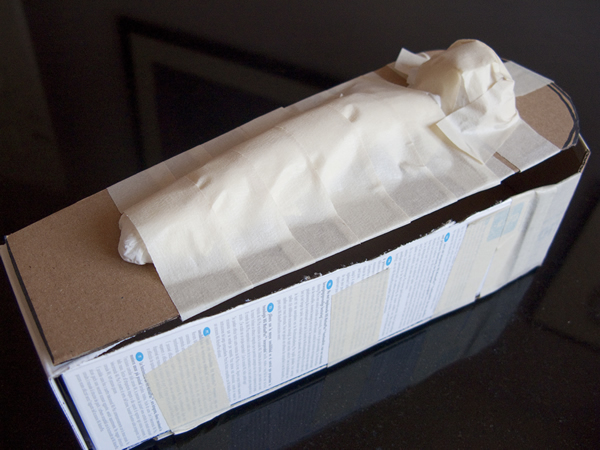
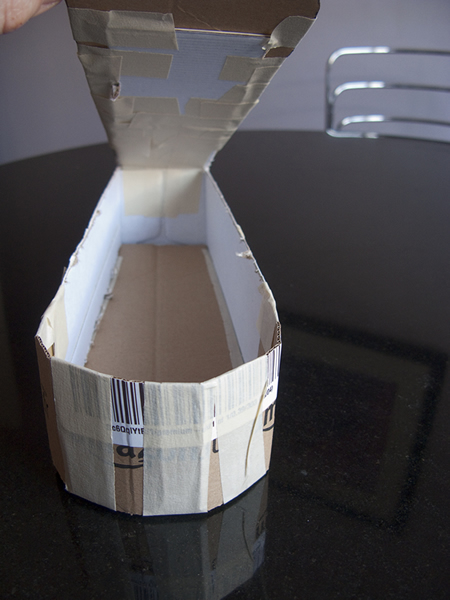
For the base model, I made the sarcophagus. I got an older remote box and a cardboard box and made a dome shape but we made a lid so, we stuck that on with masking tape so it made a hinge. Next we got some tissue paper and made it into a head shape, then we got some more tissue paper and made it into a dome shape then I stuck it all on with masking tape and papier-mached it.
About Roald Dahl

About Roald Dahl

Please click here to go to the first post in my project.

Roald Dahl wrote in a brick hut made especially for him.
He wrote on yellow paper with a pen.
He had a goat called Elmer.
He didn’t like cats but he loved dogs and birds and goats.
He was a hurricane pilot in World War II.
His favourite colour with yellow.
He loved chocolate but didn’t like chocolate cake.
Got the idea for Charlie and the chocolate factory when the chocolate factory Cadburys asked his class to test the new chocolate’s that they’ve made.
His motto was: My candle burns at both end
It will not last night
But ah my foes and oh my friends
It gives a lovely light.

Making My Peach

Making My Peach

Please click here to go to the first post in my project.

Stuff you will need to make my Peach:

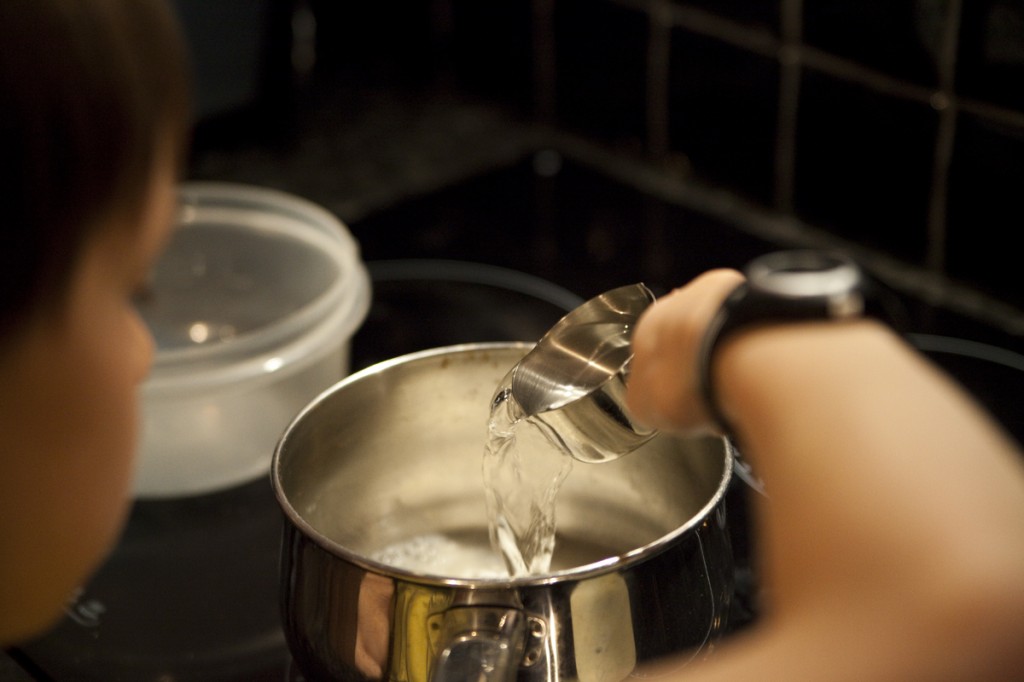
Papier mache (need to mix flour and water together).
One balloon (try to make it round).
A place to work on.
Some torn up newspaper.
To make my giant Peach first I got a balloon and we blew it up and we tried to make it into a sphere after that I made some papier mache. I then covered the balloon with papier mache and left it to dry. While it was trying I made the animals out of air drying clay. It was very hard because, by the time we got to the last animal the clay had nearly dried. So we had to act quick. When the Peach was dry we painted it by mixing red and yellow paint together. At the same time we painted the animals. Once they were dry we added the details onto them. When they were dry we stuck them on to the Peach but the grasshopper and the worm and the centipede wouldn’t stay on the Peach so we had to use masking tape to hold them up.

My Roald Dahl Project.

My Roald Dahl Project.

For my Roald Dahl project I chose James and the giant Peach. James and the giant Peach is about a little boy, who lives with his two aunts. The book is very funny but very sad at the same time. James’s parents get eaten by a rhinoceros on the loose. He had to go and live with his aunts. His aunts always referred to him as, you little beast or you spoilt little brat. He lived with his two aunts on the top of a big hill. The house was surrounded by a fence, so he never had any friends to play with.

Why I Made The Peach.

I made the Peach because it would be very simple. It would also be fun, and I wanted an excuse, to get the papier mache out. Things that use Papier mache are always very fun, that is why I have used Papier mache for my Peach.

About Tudor Houses

About Tudor Houses

About the Victorians and the Tudors

The Victorians painted the houses white and black, the Tudors houses were cream and brown and made of wood and wattle and daub which was made of wet soil and dung which they sometimes coloured pink with pigs blood (thanks Rhys and Sion for that disgusting info). The Tudors didn’t have windows like we do, they had leaded windows. The chimneys were made out of brick to stop the house from catching fire. The overhang of the Gallery made it very dark in the street.


build that model!

build that model!

How to Build a Tudor House.

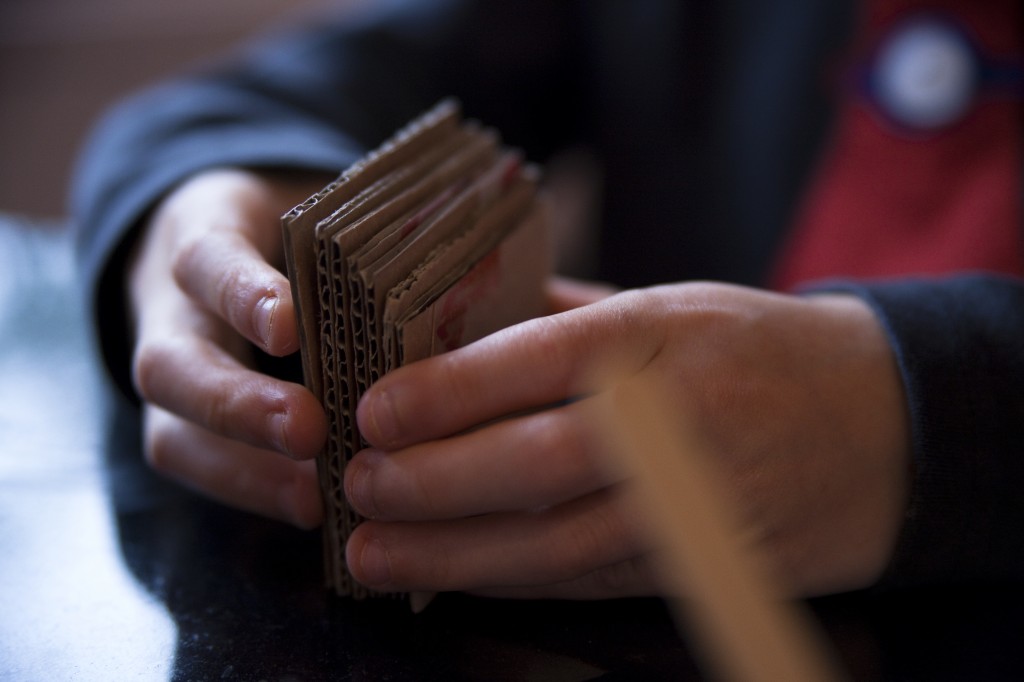
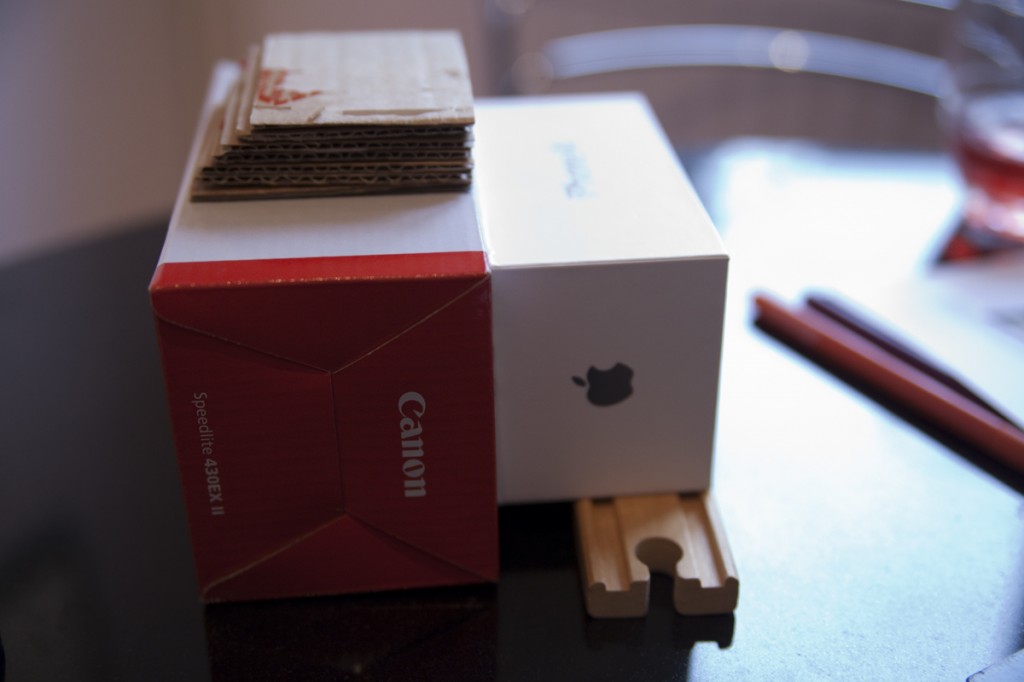
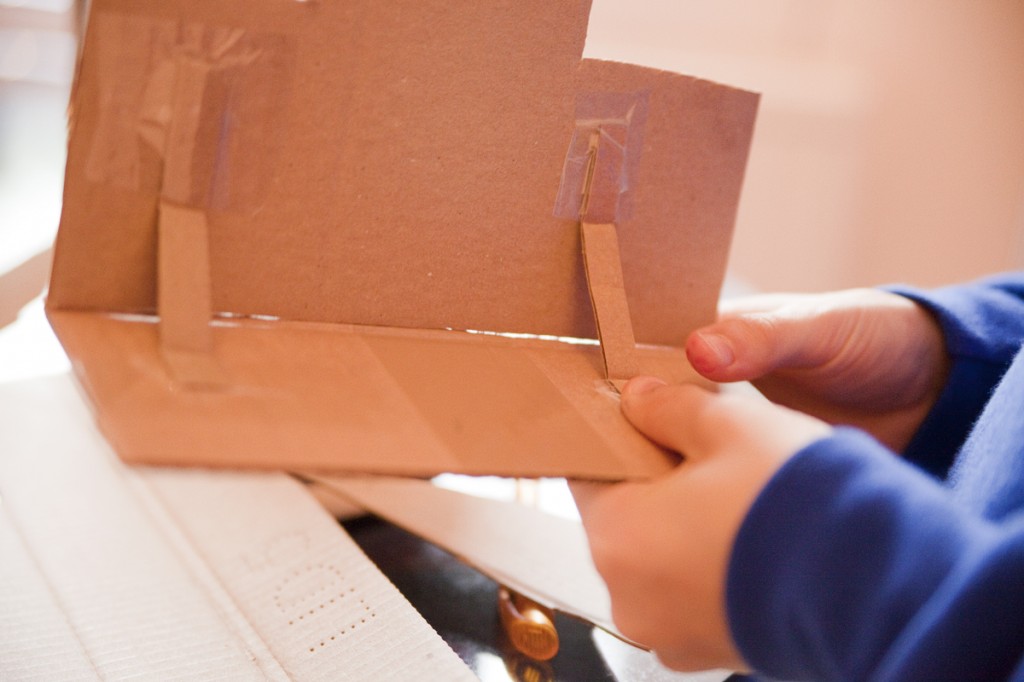
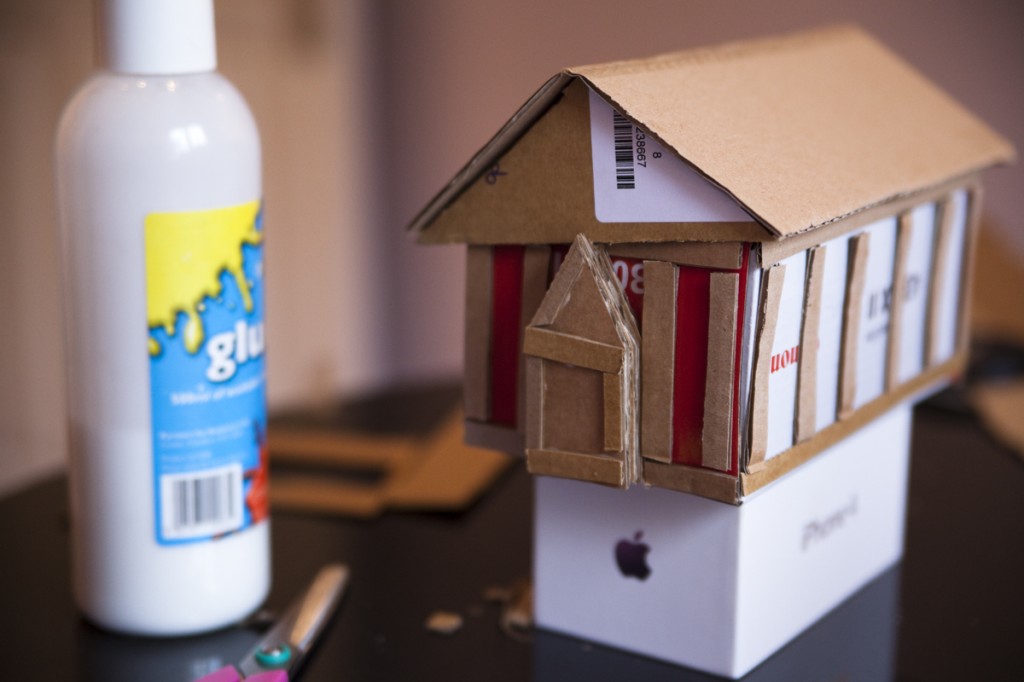
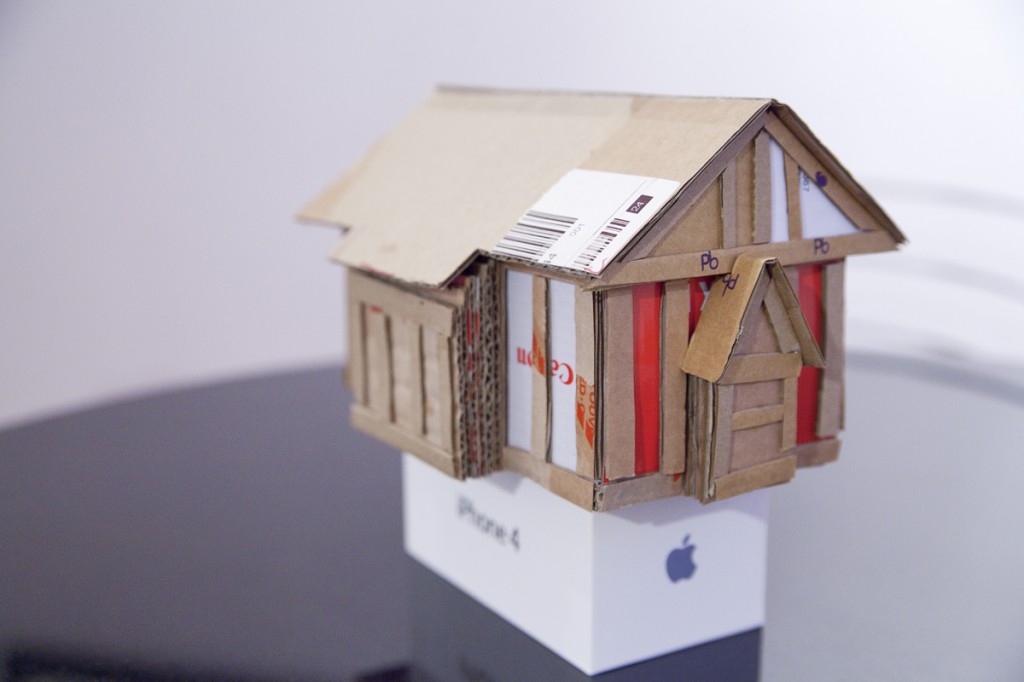
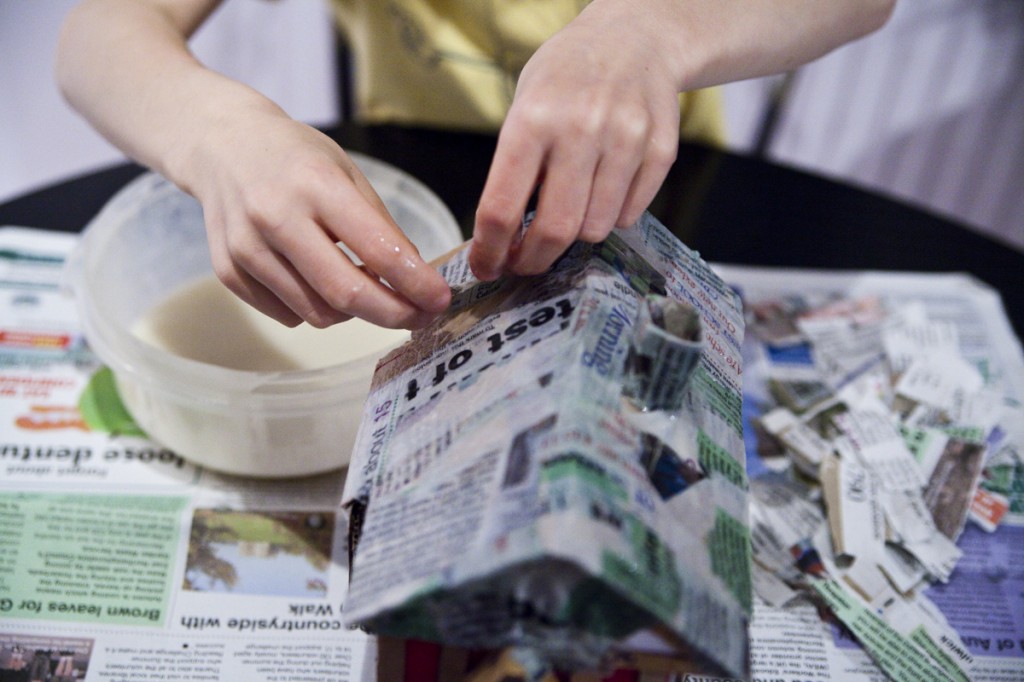
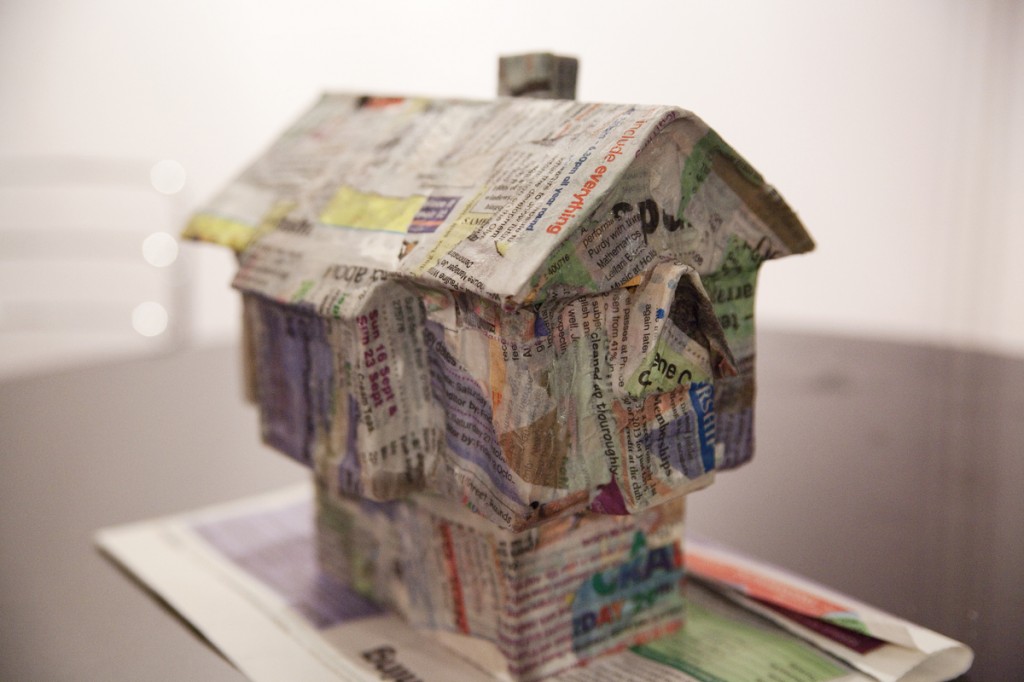
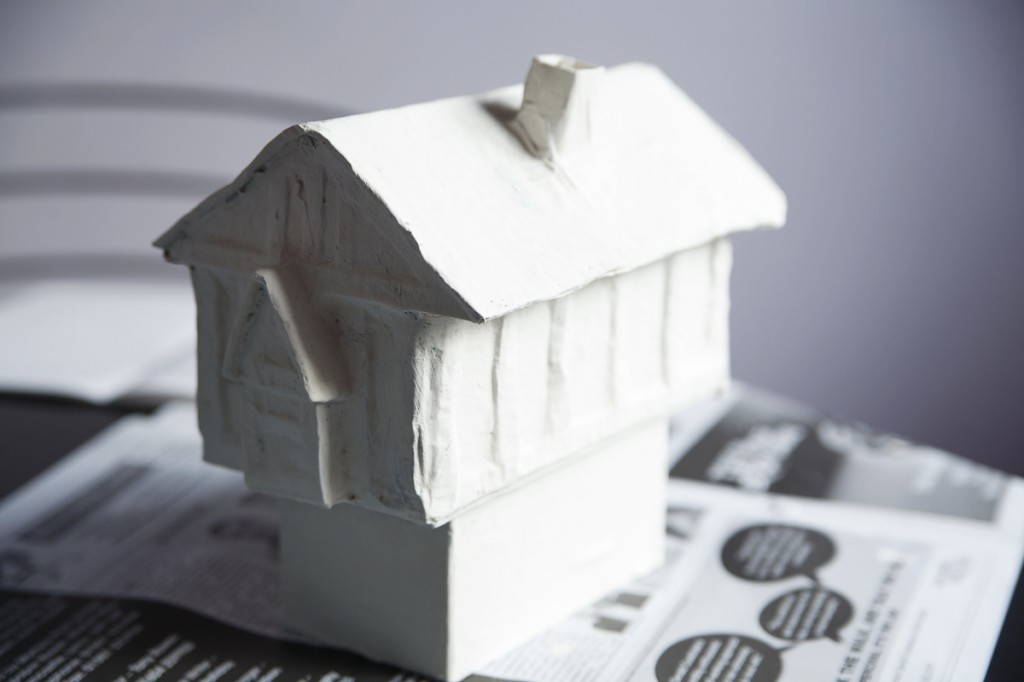
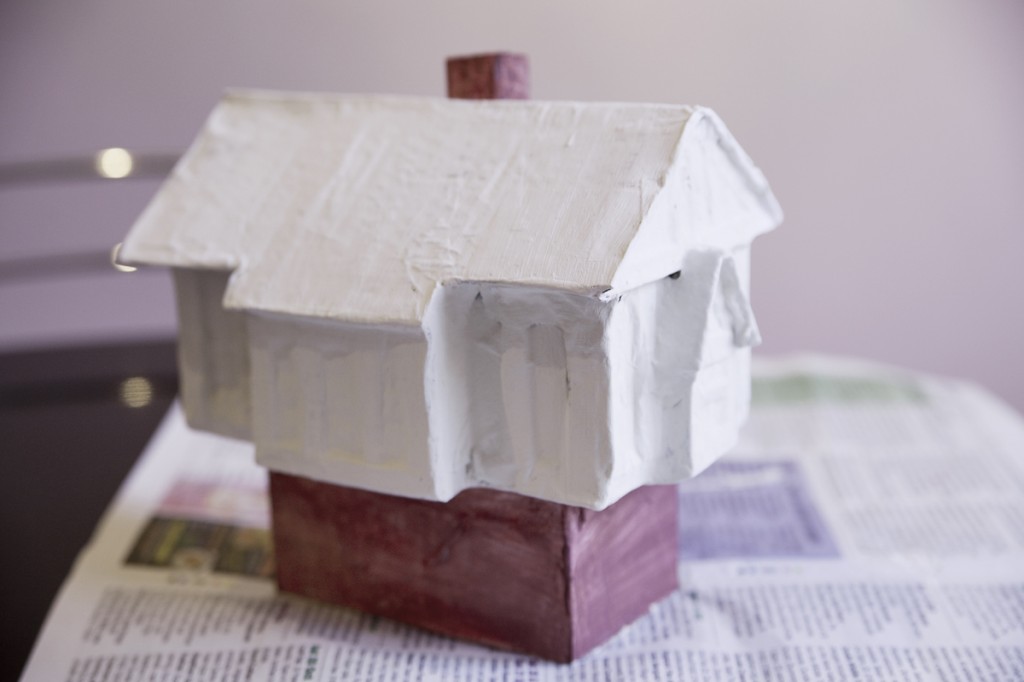
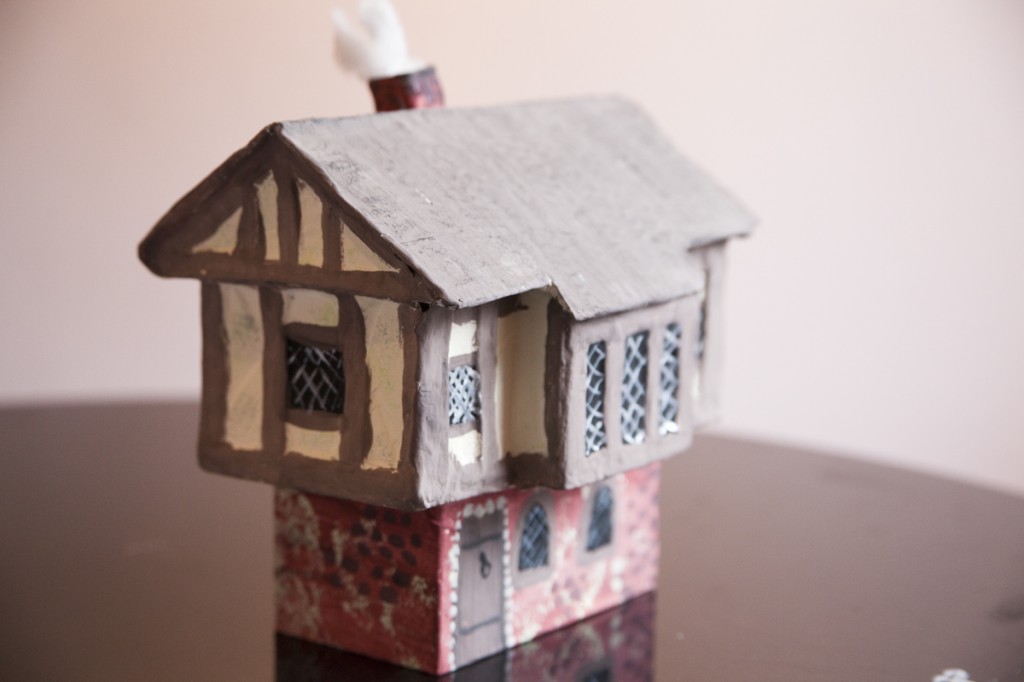
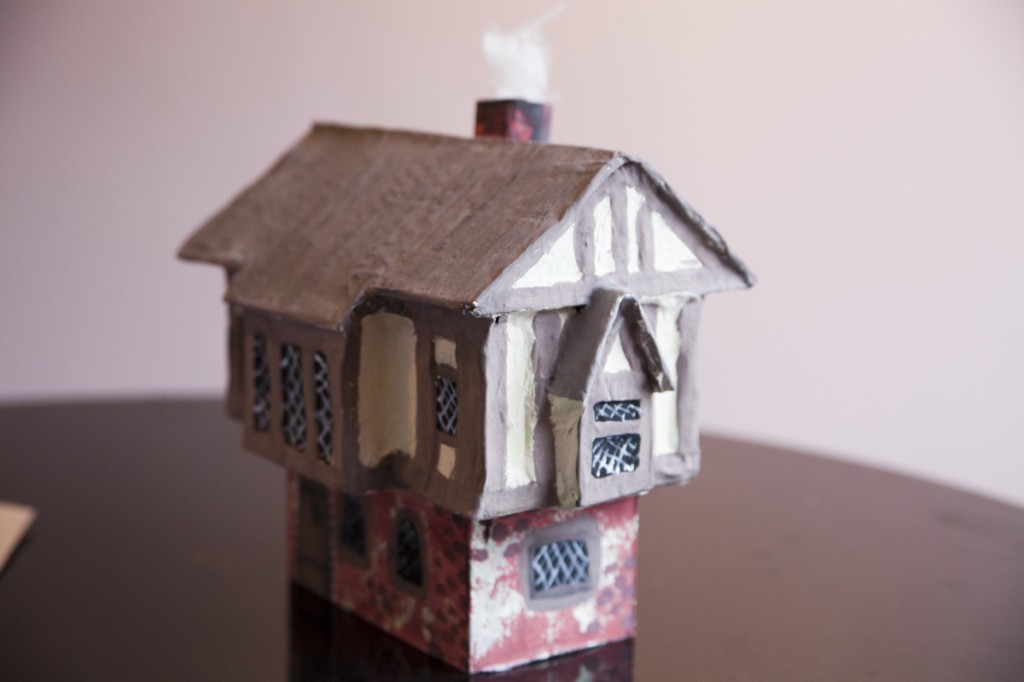
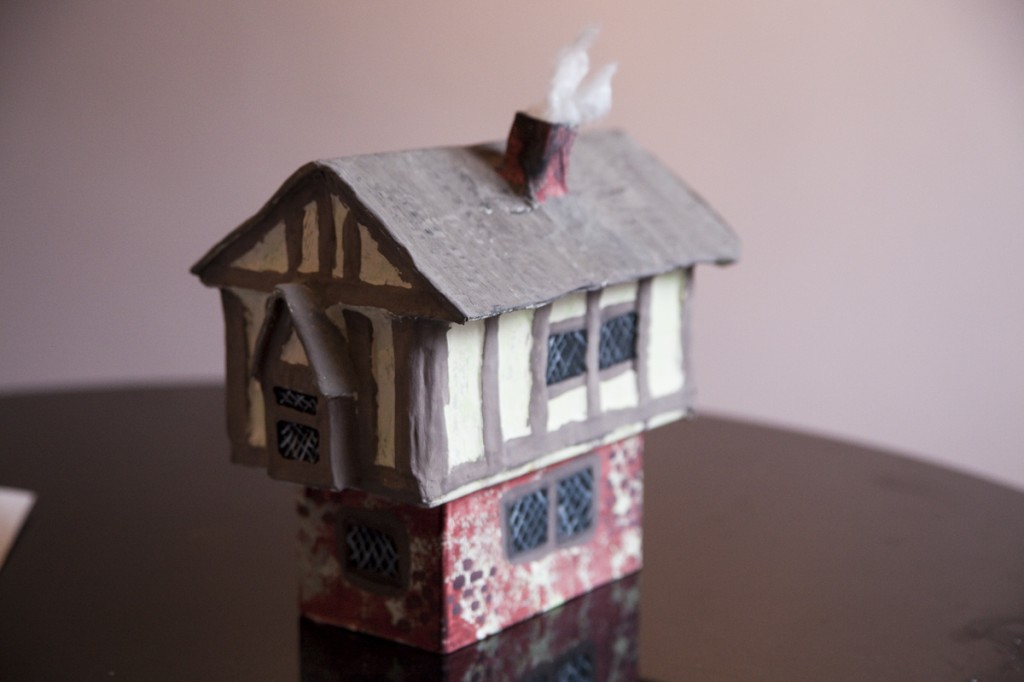
First I got two small boxes, one had to be bigger than the other. I glued the two boxes together, making sure the big box was on top of the small box to make a gallery.


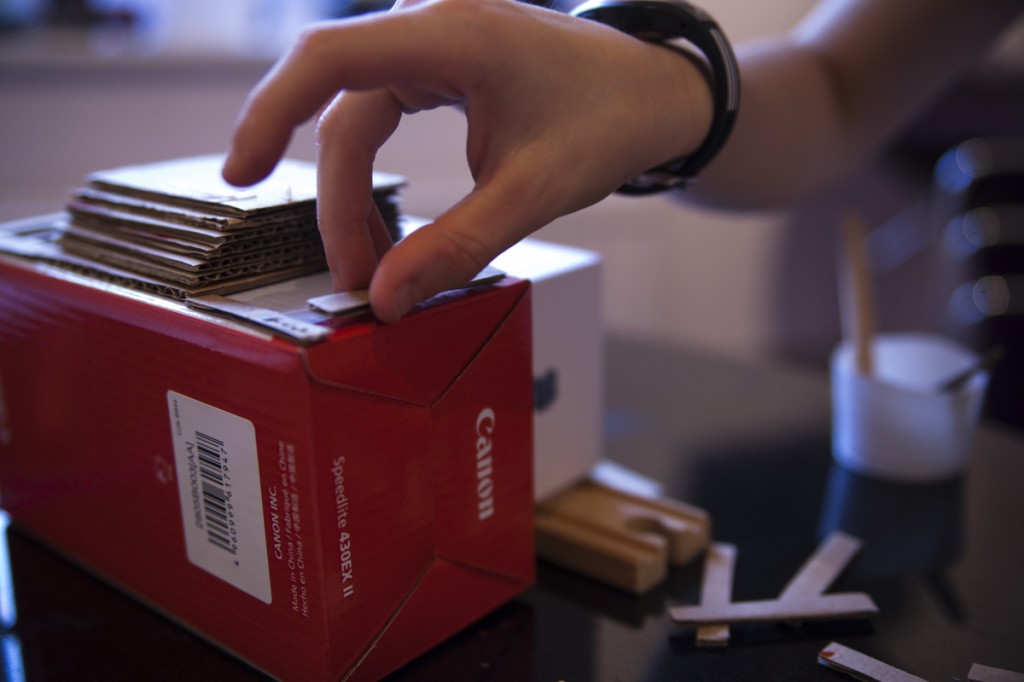
Next I cut out thin cardboard strips, that would hold it together.

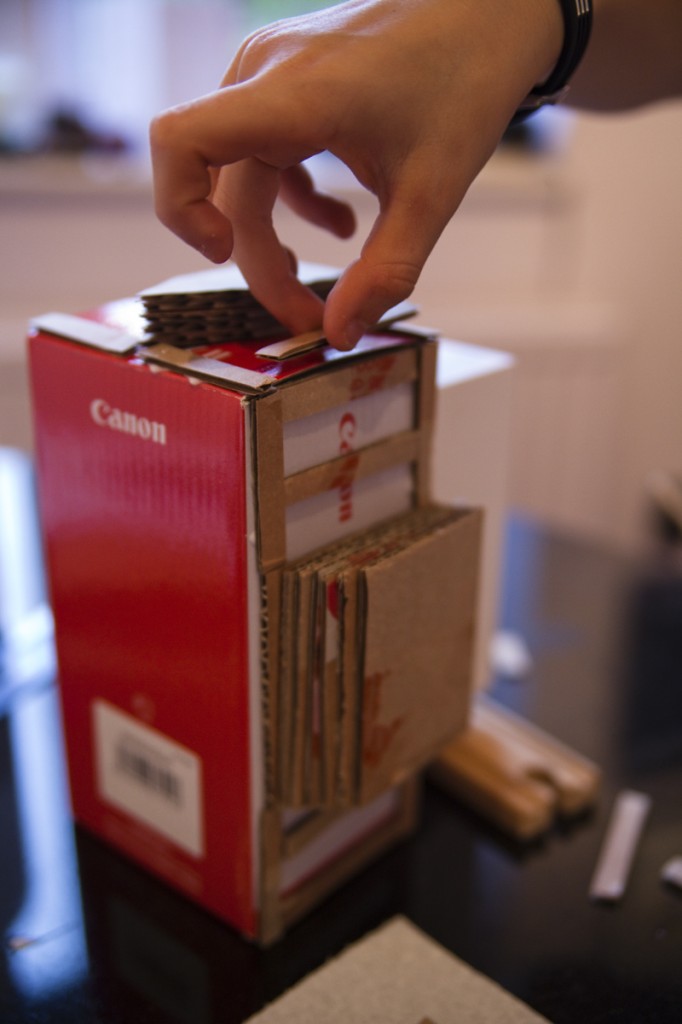
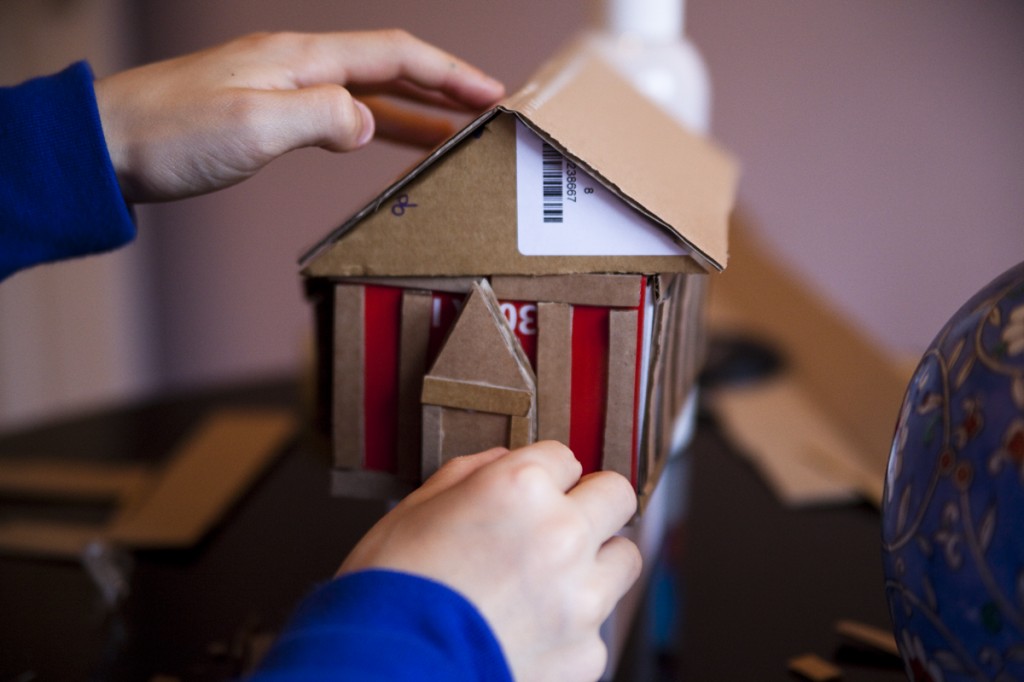
Next Istuck on the strips of cardboard.

After that I designed the roof and make sure it worked. I made triangles with folding tabs. I folded the tabs over and sellotaped tabs onto the roof.


Mummy helped me make some Papier mache. I stuck it all over the model.

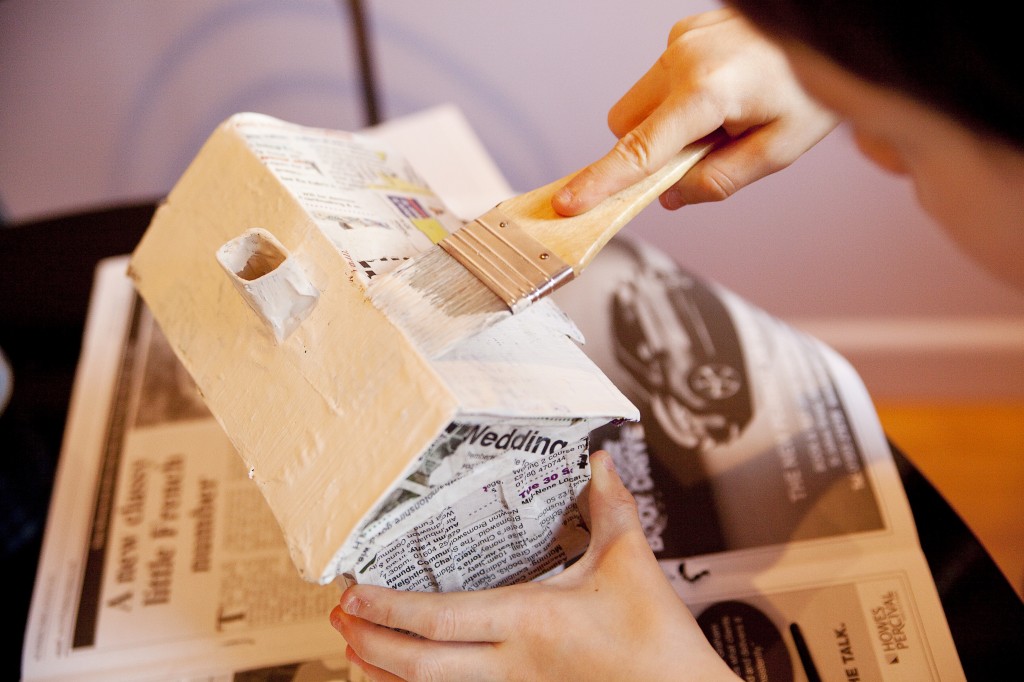
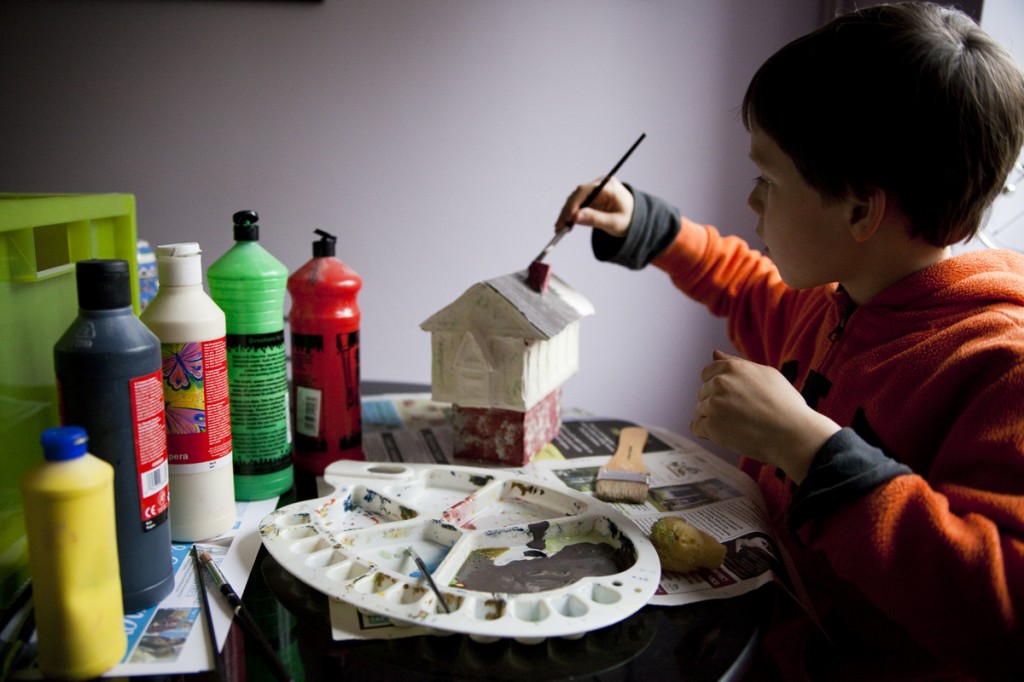
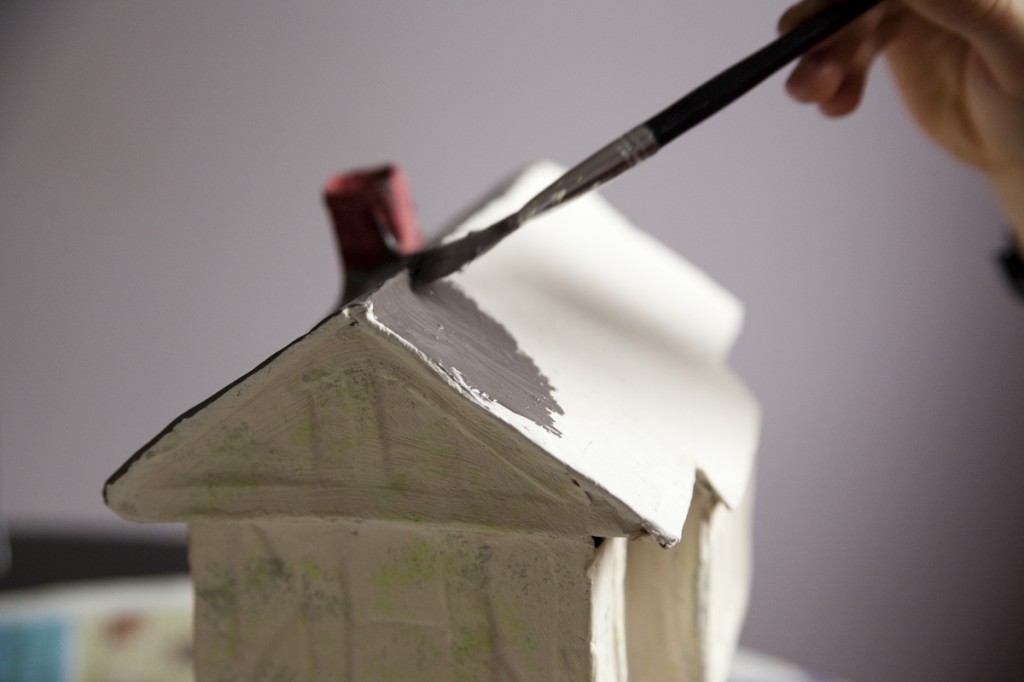
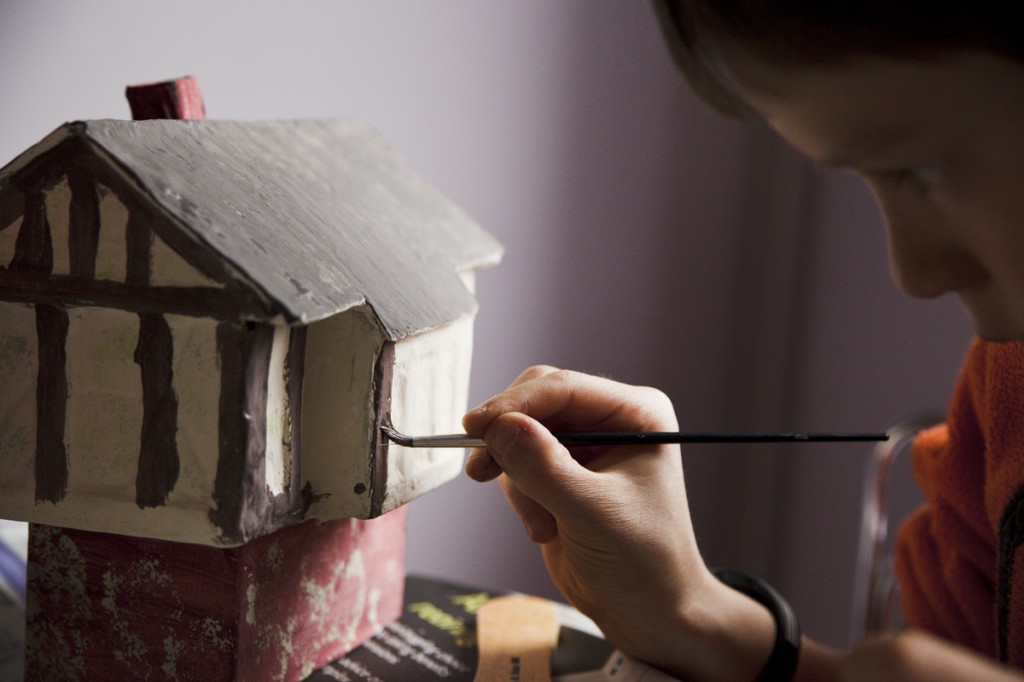
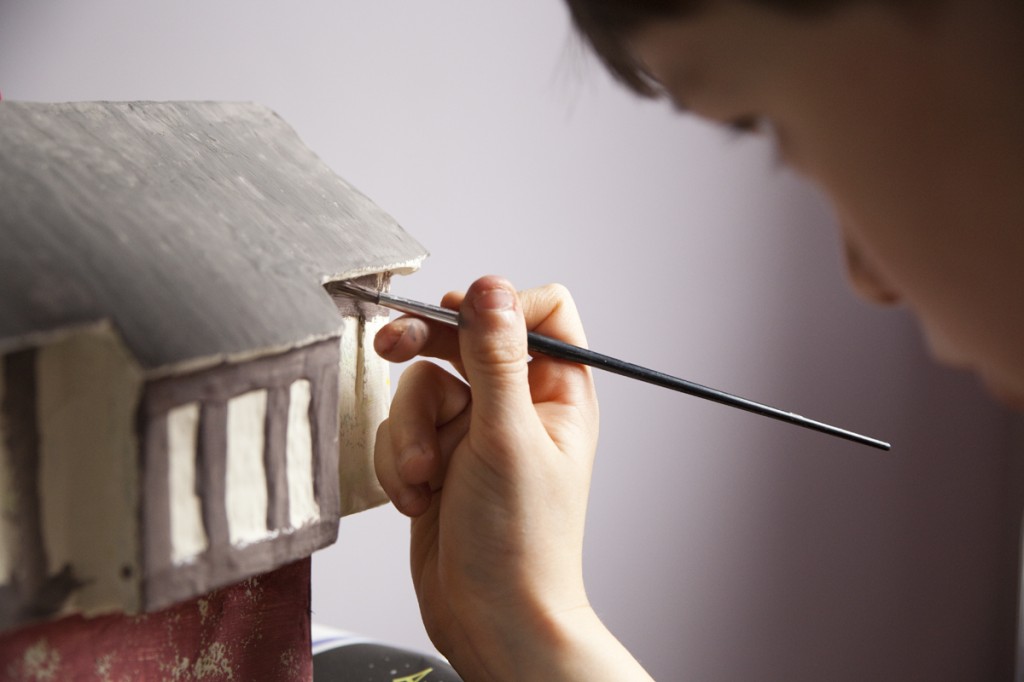
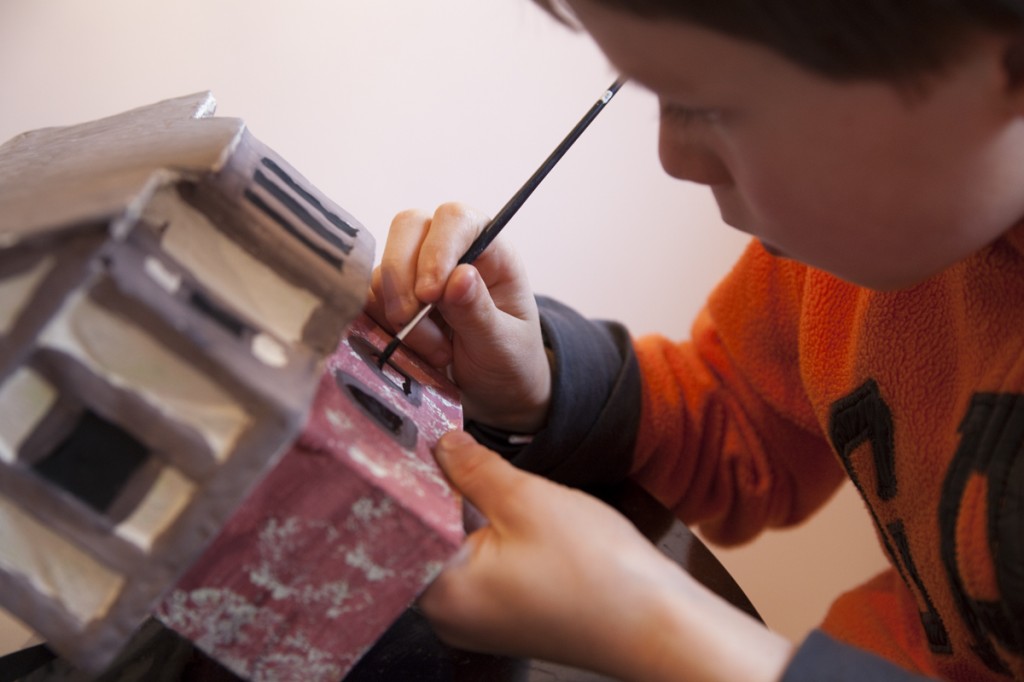
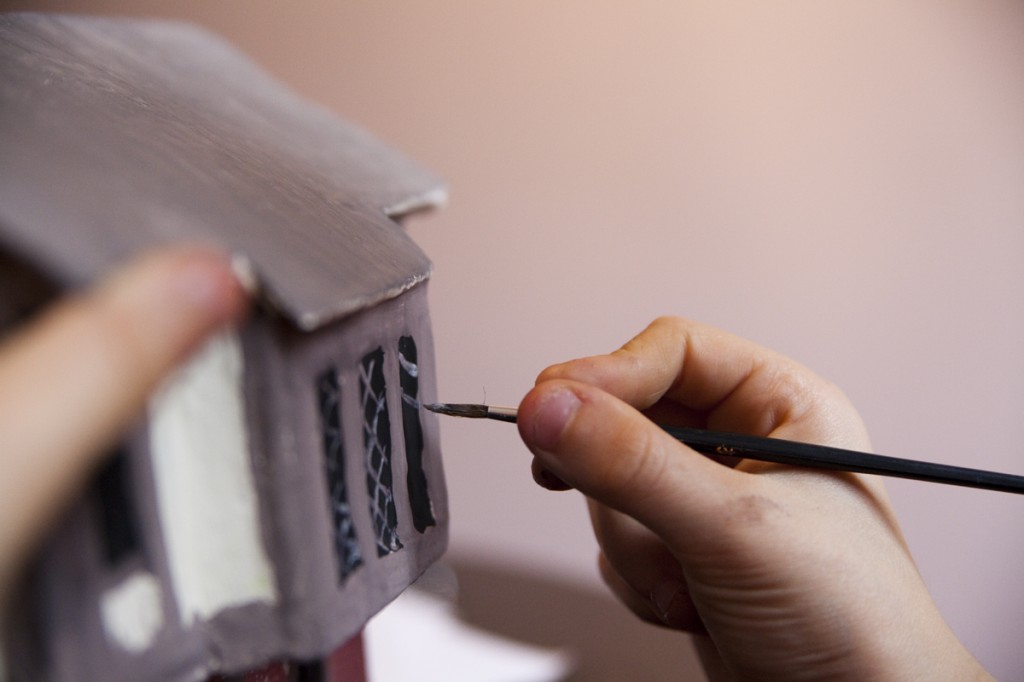
  I then painted the model.


starting my tudor house

starting my tudor house

My Tudor House Project

We are studying the Tudors in History. For our year five project we need to build a model of a Tudor house.

My Research

We went toStratfordto find out more about Tudor houses. When we got there, it was very exciting because I did not know what was going to happen in the Museum. We entered the museum and looked around the shop in the Museum for a bit. I then spoke to the man to see if he knew anything about Tudor houses. He said to me that Tudor houses were not black and white they were actually an earthy colour with brown strips of wood to hold it together. We walked through the departments of the Museum and found out lots about sailors in the Tudor times, and lots about Tudor houses, and we found lots out about Kings andQueens, some were only 15 when they died.

Planning My Model

I decided to make a rich merchants house. If he really lived he would really like the house. A merchant’s house would have brick at the bottom, brick was very expensive in those days so only rich people could get them. On top of the bricks it would have a wooden gallery. The gallery would stick out from above the bricks just a little bit. The roof was thatched. The chimney was always made of brick, because it needed to be fireproof.

I decided to make mine quite small, because if I made it really big it would take a long time to finish, and we only have five weeks. It would also take up too much space at school because we have 29 people making houses.